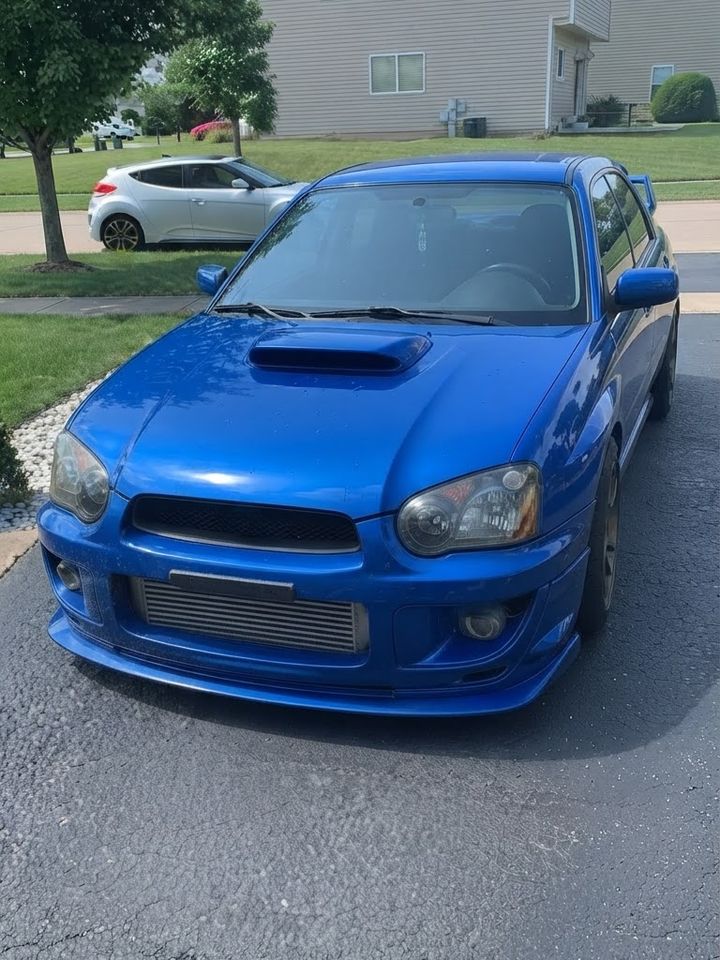
Buying it
The money for this car came from repairing and reselling consoles and building gaming PCs. Once I had enough saved, I wanted a project car, something I could either flip or keep, and either way learn from.
I found a 2005 Impreza WRX listed in the Chicago area and drove down to look at it. I went through it carefully, mostly checking the frame for rust, and it was clean where it mattered. I left, thought about it, and went back that same night with my next-door neighbor. We made the drive down around 2 AM and I bought it.
I knew the engine had a head gasket leak before I ever handed over money. That was fine, since the whole point was that it would be a project.
The teardown
I started by pulling everything out of the engine bay: wiring harness first, then all the fluids, then every component I could get a wrench on. From there it kept going. The interior came out completely, and the car ended up stripped down to a shell.
Labeling and bagging hardware as it came off saved me constantly during reassembly. Anything I didn't label, I paid for later.
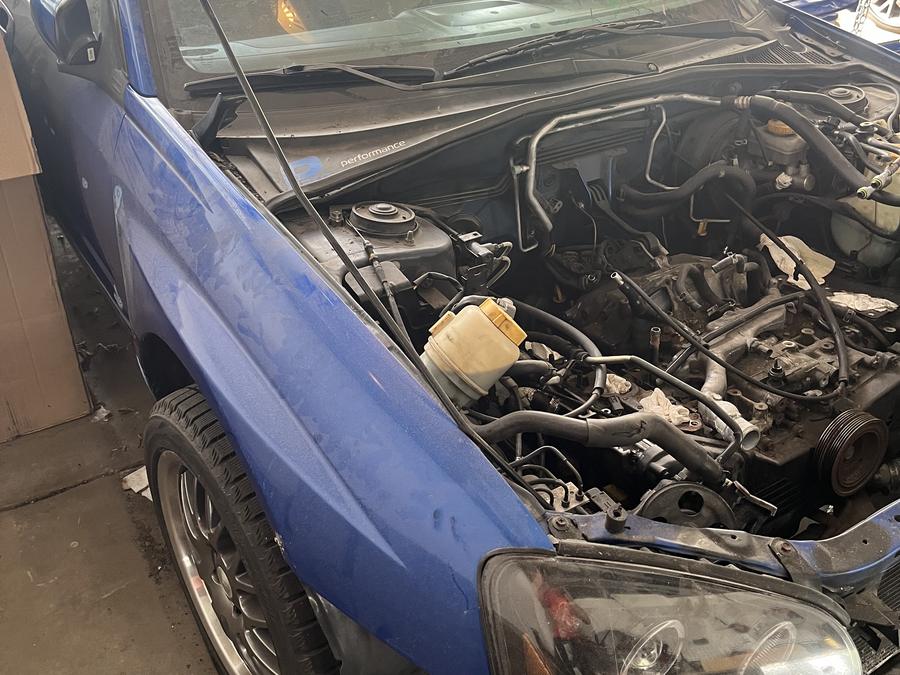 Teardown 1Front end apart
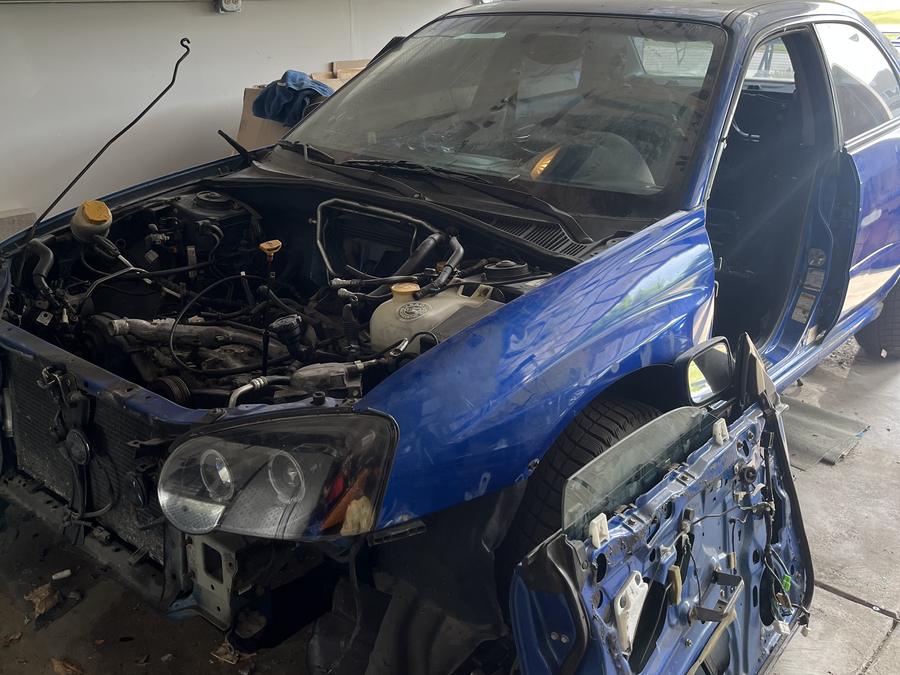 Teardown 2Down to a shell
Rust and frame work
With the interior out I could finally see what the car was actually made of. There were sections of the frame that had rusted through, inside and out, so those got cut out and welded back with fresh metal.
Rusted bolts were the other constant. A lot of them wouldn't break loose no matter what I hit them with, so I ended up drilling several out to get components off the car at all. That single problem probably added more hours to this build than anything else.
The engine
I sourced the replacement engine from a seller I trusted, and it showed up on a freight truck on a pallet. That's the moment I realized I hadn't thought the whole thing through, because there was no way to move it. So I bought an engine crane and a stand, and with a couple of friends we pulled the old motor and set the new one in.
Before it went in, I did a round of reliability work on the new engine based on research into why these motors fail in the first place. The EJ's known weak point is oil starvation, so I addressed it directly:
- Upgraded oil pan, a better design than the factory unit.
- Baffled windage tray, which keeps oil from sloshing away from the pickup under load.
- New oil pickup, since the factory pickup was part of the root cause of starvation.
- Replaced the usual wear items while the engine was out and accessible: gaskets, seals, and anything that would be miserable to reach later.
Then everything went back in: engine mounted, harness routed and reconnected, fluid and cooling lines run, accessories reinstalled, and the whole system bled and checked before first start. Reassembling the wiring was the slowest part of the entire build. It's tedious, unglamorous work, and it's also where a mistake will leave you chasing a fault for days.
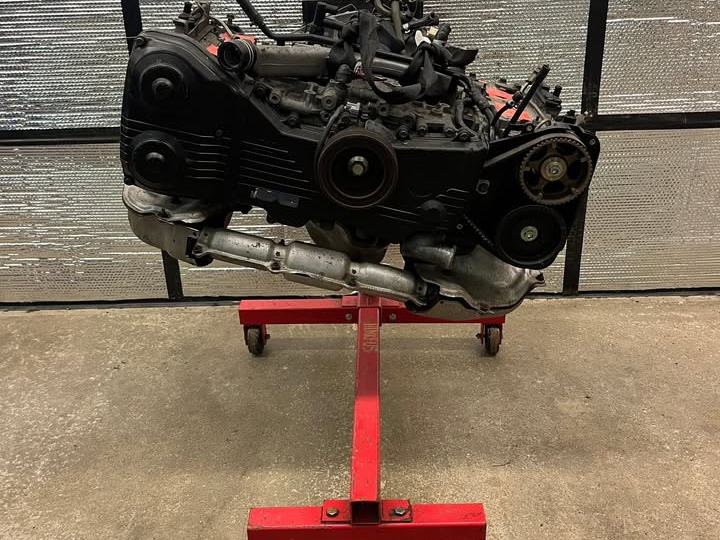 Engine 1On the stand
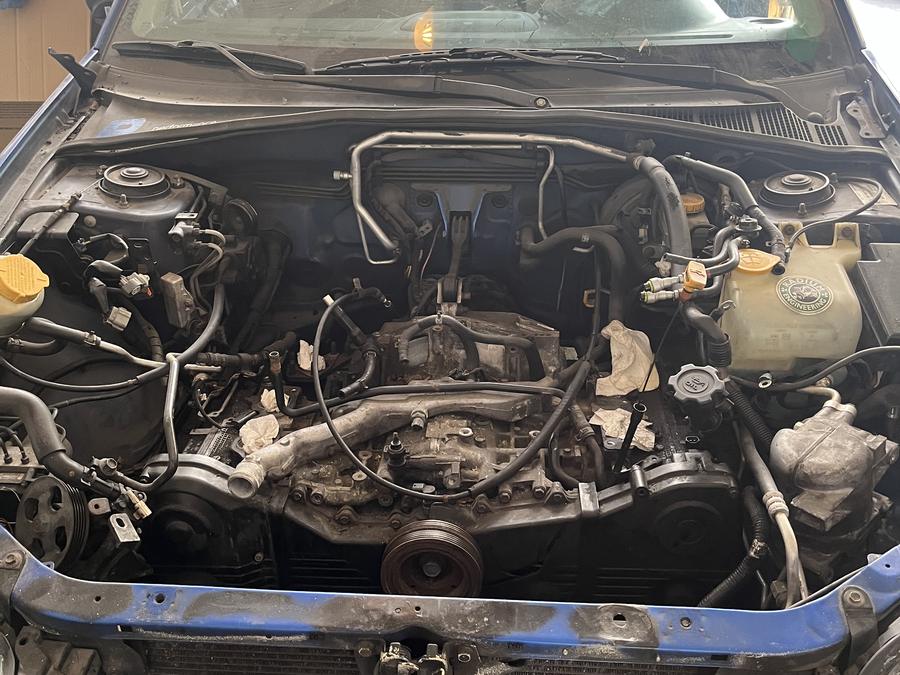 Engine 2Bay, motor out
Interior and roll cage
The interior came out, got cleaned properly, and went back in with most of the trim repainted. I also installed a four-point bolt-in roll cage, which meant getting the mounting points right and making sure the floor and frame around them were solid. That's part of why the welding work happened when it did.
The seats went in at the same time: a pair of buckets to replace the worn factory ones, and the cage behind them. Sourcing these took longer than fitting them, since the right rails and hardware for this chassis are their own small hunt.
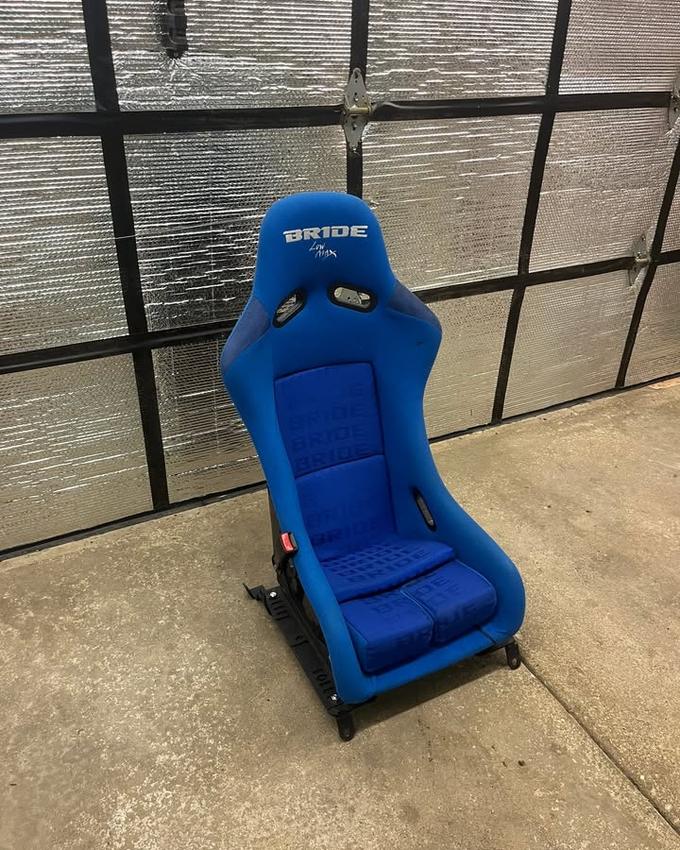 Part 1Bride bucket
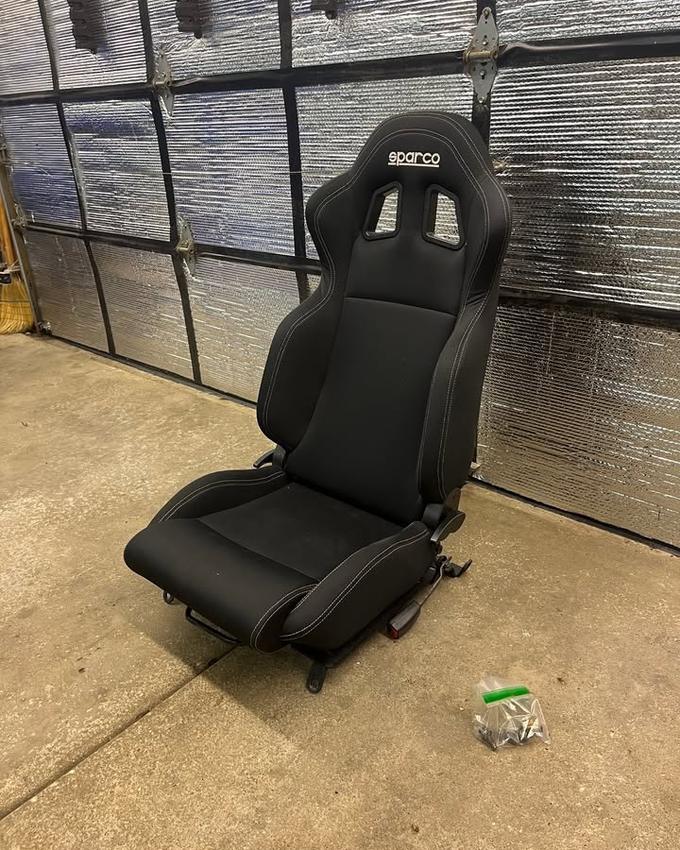 Part 2Sparco seat
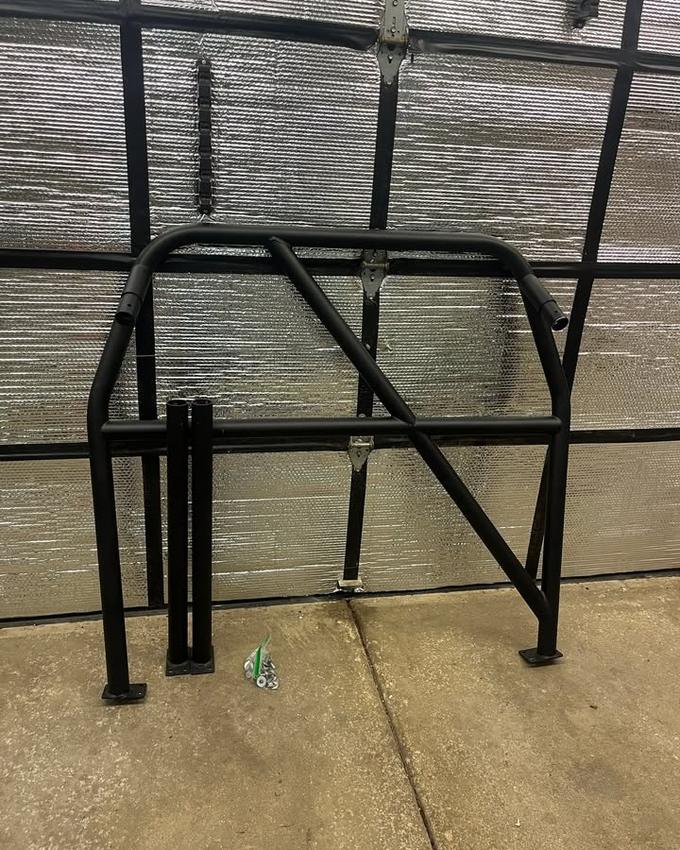 Part 3Bolt-in cage
Body and paint
For the exterior I used a body filler bonded to mesh over the repaired areas, then block-sanded it down until it sat flush with the rest of the panel. Once the body was straight, the car got sprayed in rally blue.
I'd also ordered a body kit. By that point I was running out of runway before leaving for college, so I handed the kit to a paint shop to sand, spray in the matching color, and install. It cost more than doing it myself would have, but shipping the project mattered more than saving the money.
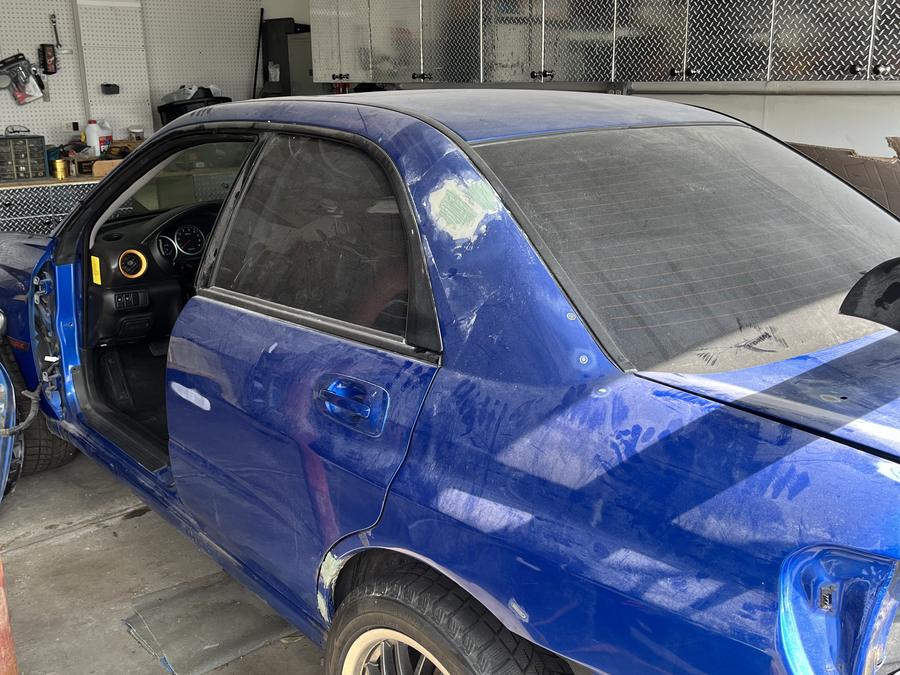 Body 1Filler and block sanding
 Body 2Fresh paint
 Body 3Body kit on
The light patches are filler bonded over mesh where the rust repairs went in, block sanded flush before the car was sprayed.
What it taught me, and where it went
I eventually sold the car. I still miss it, but selling it was the right call: that money went straight into my studies and, later, into the 2019 WRX.
This build is the reason I'm comfortable taking on things I don't yet know how to do. I learned to weld, do bodywork, pull and set an engine, diagnose a root cause instead of a symptom, and, maybe most usefully, plan around a deadline I couldn't move.